HVLN Support Center

Submit a ticket My Tickets
Welcome
Login  Sign up

How to Embed Panopto Videos in a Canvas Course

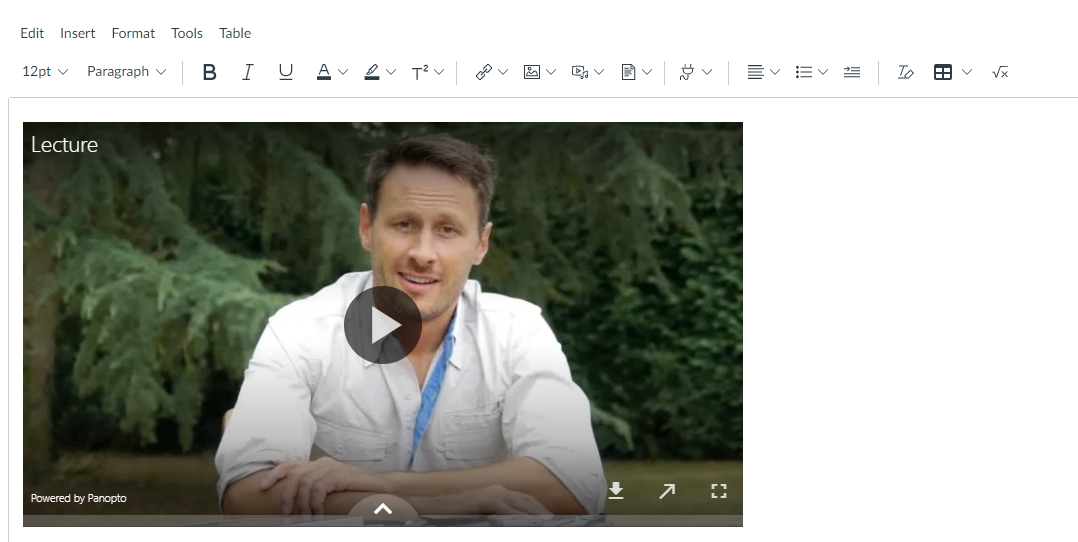
Overview
With Panopto, videos can be embedded anywhere in the Canvas LMS and played back on-demand on any laptop or mobile device. From any embedded video, students can easily access search, the table of contents, notes, or discussion. Students may also choose to open an embedded video in the full interactive viewer if needed.  Please note: You will only be able to embed videos and/or see folders that you have Creator access to in Panopto, regardless of their sharing settings.
 
Embed Panopto Videos into Canvas
You may embed a Panopto video anywhere in the course where you have access to the text editor such as Pages, Announcements, or Discussions. Navigate to the area where you would like to embed a video and choose to make a new item.


  • Open a course in Canvas.
    Click on the icon with the Panopto logo OR click on the plug icon in the Rich Content Editor.
Text editor in Canvas. On the toolbar, the Panopto icon appears and is highlighted by a red box.
  • A pop-up window will appear that includes your apps. Search for and double-click your Panopto application to open the Panopto window.

Select App window. On it, "Panopto video" is highlighted by a red box.

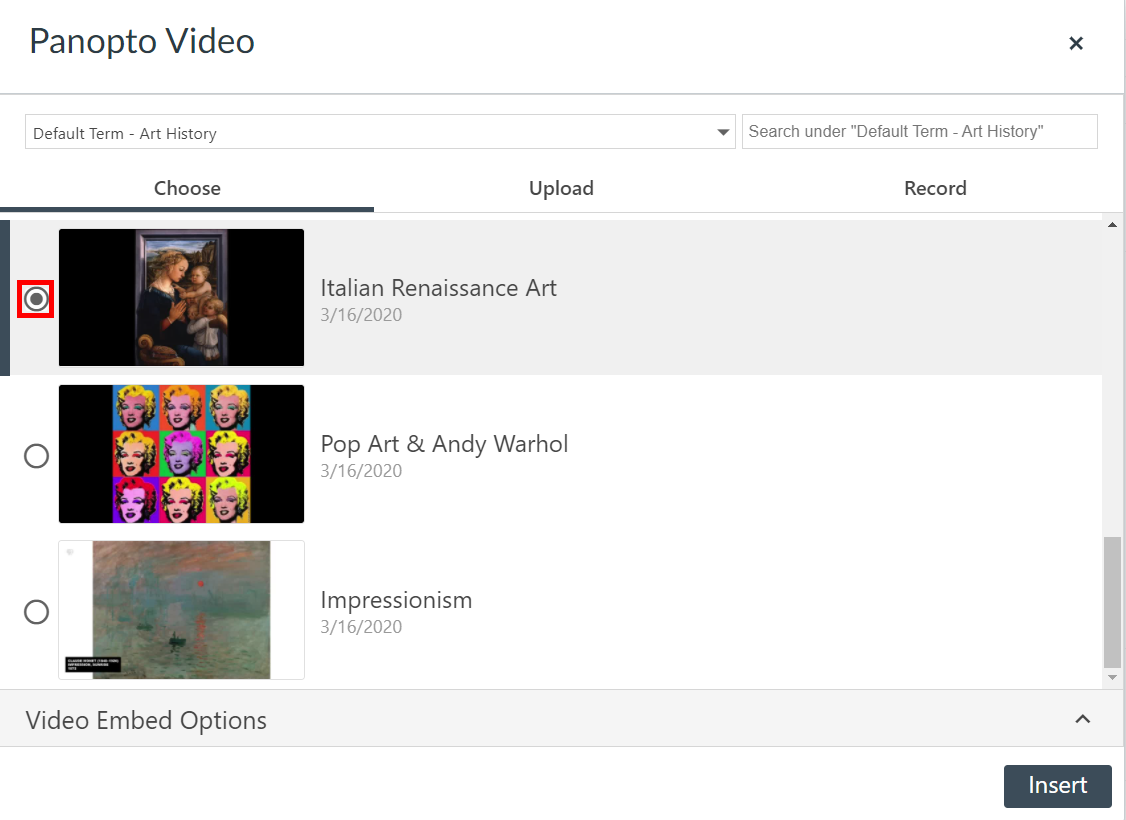
Option 1: Choose an Existing Recording

  • To choose an existing recording, browse or search through your available folders. Select the video to embed.
  • Note: You can embed a video from any of your Panopto folders, and when students click on it, they'll be able to watch it.
  • Choose your embedded player preferences under Video Embed Options.  Then, select Insert.


Embedded video selector. On it, a video is selected and the radio button indicating this is highlighted by a red box.
  • The video will be embedded into the new item

Text editor in Canvas. In the text box, a Panopto video appears embedded.
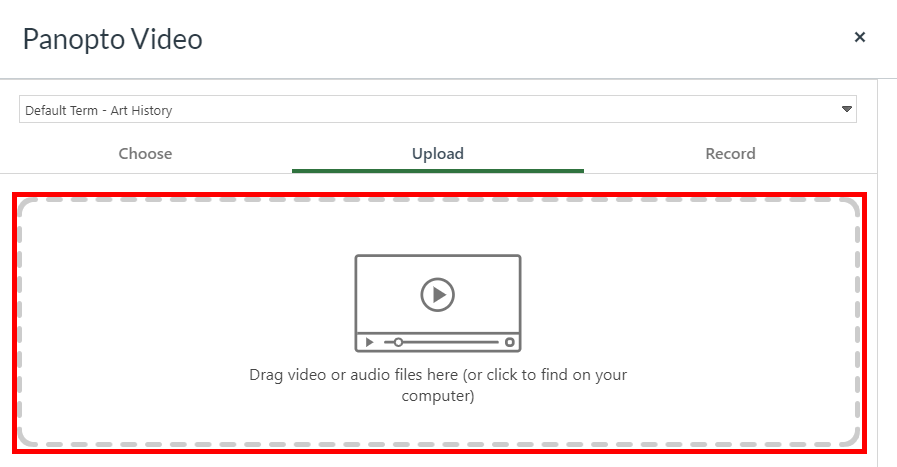
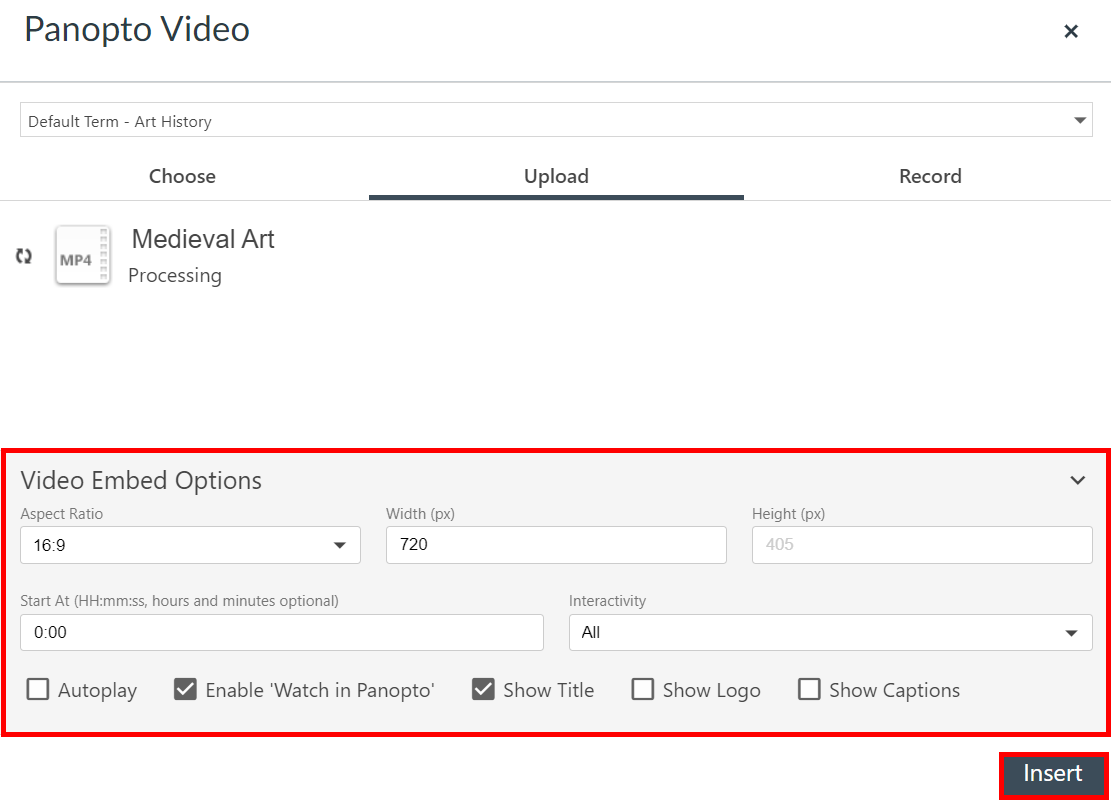
Option 2: Upload an Existing File
  • To upload an existing video file (i.e. MP4, WMV, MOV) click Upload. On this page, drag and drop the video or audio files you wish to embed or click to browse your computer for files 
  • Note: For more information about supported file types, go to the Supported Files Types documentation.


  • Panopto will use the file name as the session name, but you can rename this while the content is uploading.
Embedded video selector. The Upload tab is selected, and highlighted by a red box.
  • Choose your embedded player preferences under Video Embed Options. Then, select Insert.

Embedded video selector. On it, the Video Embed Options section is highlighted by a red box, as is the button "Insert"
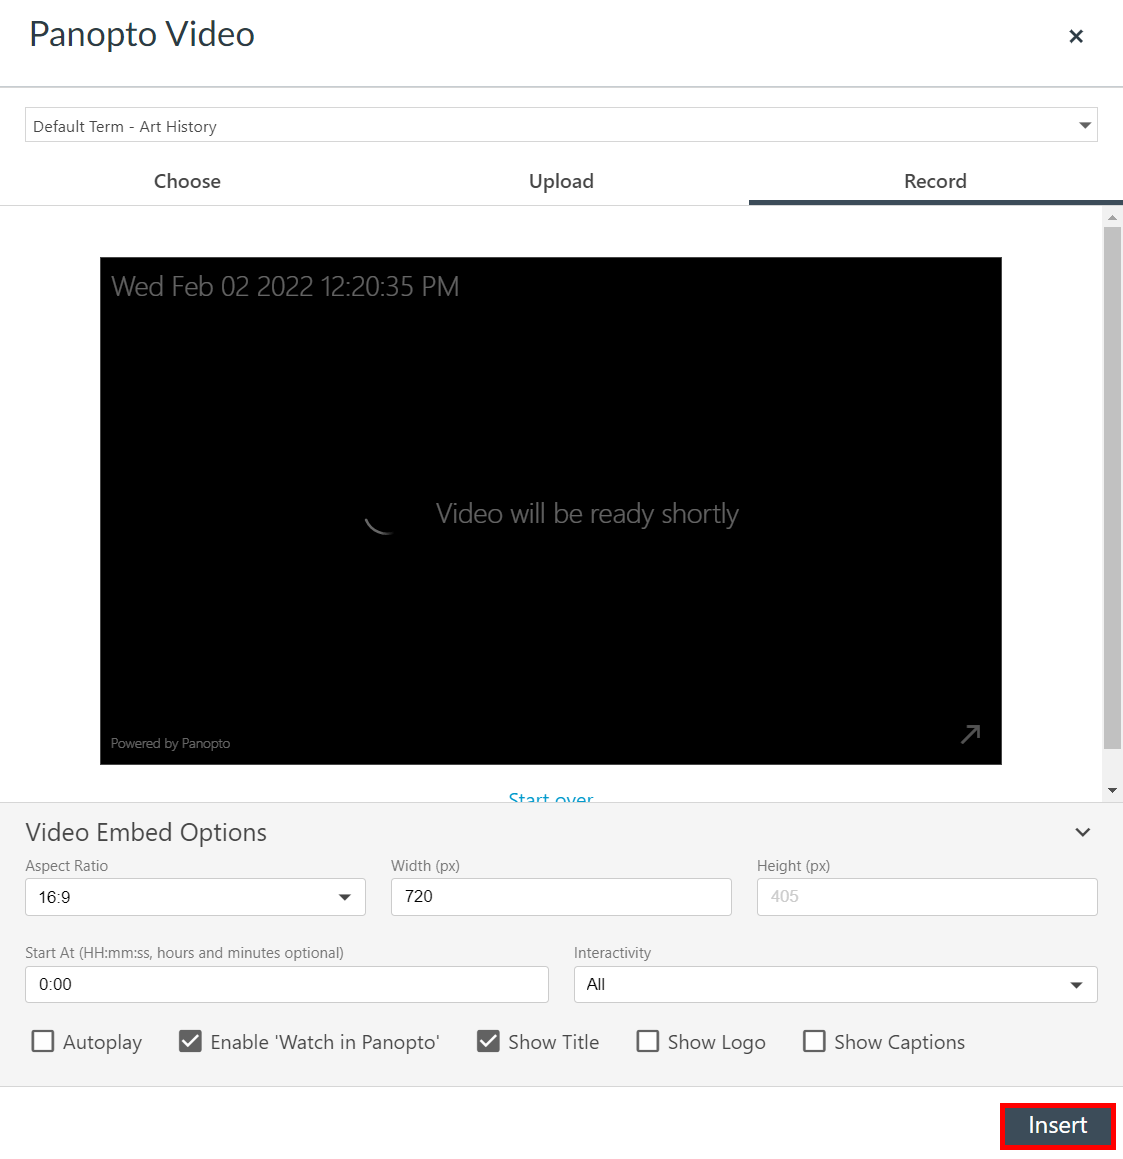
Option 3: Record a Video
  • Select the Record tab to launch Capture or the desktop Panopto app to record directly to the course and course folder.

Embedded video selector. On it, the Record tab is selected and highlighted by a red box.
  • To begin, give the recording a name and click Launch Capture or Launch App depending on which you would like use to record.

Embedded video selector, Record tab. On it, the Name text box is highlighted by a red box.
  • When the Panopto software opens, you'll be able to select your camera, microphone, slides, and which screens you'd like to record. Note: For more information, please see the Recording Documentation on the Panopto Support site.
  • Once you have finished recording, choose your embedded player preferences under Video Embed Options (refer to step above for details.) Then, select Insert.


Embedded video selector, Record tab showing a video in the process of uploading. The "Insert" button is highlighted by a red box.


Did you find it helpful? Yes No

Send feedback
Sorry we couldn't be helpful. Help us improve this article with your feedback.