 | OverviewThere are two different ways to upload already existing video files into Panopto. In this article, we will provide the steps using the Build a session feature in Panopto, which allows for multiple video and presentation files to be uploaded.Note: Alternatively, you can batch upload video files via the Create button, but each file will create its own session. For more information, visit How to Upload Video Files Using the Create Button.Prerequisites
|
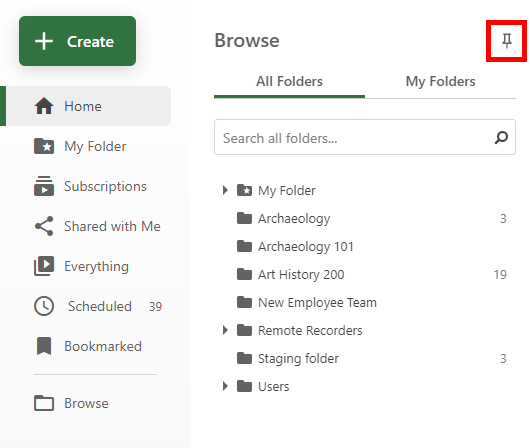
| 1. How to Launch Build a Session 1.1. Select Browse from the left-hand navigation on your Panopto site, select All Folders or My Folders on the left-hand column, and then locate and select the folder to which you want to record your video (Fig. 1). Note: In the example image, All Folders is selected. |  Figure 1 |
1.1.a. To keep the Browse menu open, select the pushpin icon in the top right corner (Fig. 2). This will pin the menu open on the page, and allow you to browse through different folders without opening the Browse menu each time. Once pinned, the pushpin will appear dark grey and filled in. To unpin the menu, simply select it once more. |  Figure 2 |
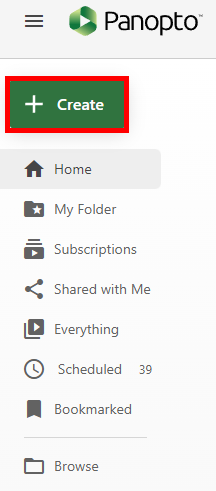
1.2. Once you have selected your folder, select the + Create button and choose the Build a session option (Figs. 3a and 3b). | Figure 3a  Figure 3b |
1.3. Give your session a name and brief description, then click the Create button (Fig. 4). |  Figure 4 |
2. How to Use Build a Session 2.1. The editor will now open in Build a session mode, starting with adding your Primary video or audio (Fig. 5). This is usually video or audio of the presenter and appears on the upper left side of the viewer. Add video or audio by dragging and dropping the file here, or click to open a file explorer and choose the file from your computer. |  Figure 5 |
2.2. Once you have added a primary video, you will be given the option to Drop another primary audio video or file on the left side or Drop a secondary video or PowerPoint file on the right side (Fig. 6). Secondary videos appear on the right side of the viewer and usually contain the content that is being presented. |  Figure 6 |
2.3. On the Streams tab, your content will appear as uploading or processing (Fig. 7). |  Figure 7 |
2.4. Once the files are uploaded and done processing, the video can be edited like any other video. Click for more information on adding PowerPoint slides, editing the table of contents, and trimming the sections. | |
2.5. When you are ready, click Publish in the top right corner (Fig. 8). |  Figure 8 |
2.6. The session will reprocess with the additional edits and then will become available to view. You can always go back and manage your session by clicking on the Edit icon next to the session in your folder. | |
For more information on how to use Panopto with Canvas, please visit our Canvas documentation. | |

