 | Overview You can splice multiple sessions together by using the add a clip option in the editor. Prerequisites:
|
1. Add a Clip 1.1. On the editor timeline where you want to add the clip, select where you want to add the clip and then select the + icon on the toolbar. On the pop-up menu that appears, select Add a clip (Fig. 1). |  Figure 1 |
1.2. On the Add a clip window that appears, select the button to the left of the clip and then select Insert (Fig. 2). Please note: You cannot add a clip of a session that already contains a clip. If you are trying to add a session that already has a clip within it as a clip itself, it will not appear in the list of options in the Add a clip window. Attempting to add an already-referenced clip to a recording will make the option to add it unavailable. If you attempt to delete a video that is referenced as a clip in another video, you will receive an error message that states This session can't be deleted because it is referenced by other sessions. |  Figure 2 |
1.3. The clip will now appear in the timeline, with its title above it, and is listed on the Contents tab (Fig. 3) Note: if you do not pick the exact spot where you want your clip, you can adjust it by using the guidance in step 2, below. |  Figure 3 |
2. Clip Management and Editing 2.1. When you hover over a clip, either in the Contents tab or the editor timeline, it will highlight the clip in both areas. Both areas where the clip appears will appear with a translucent shade of grey over them (Fig. 4). | 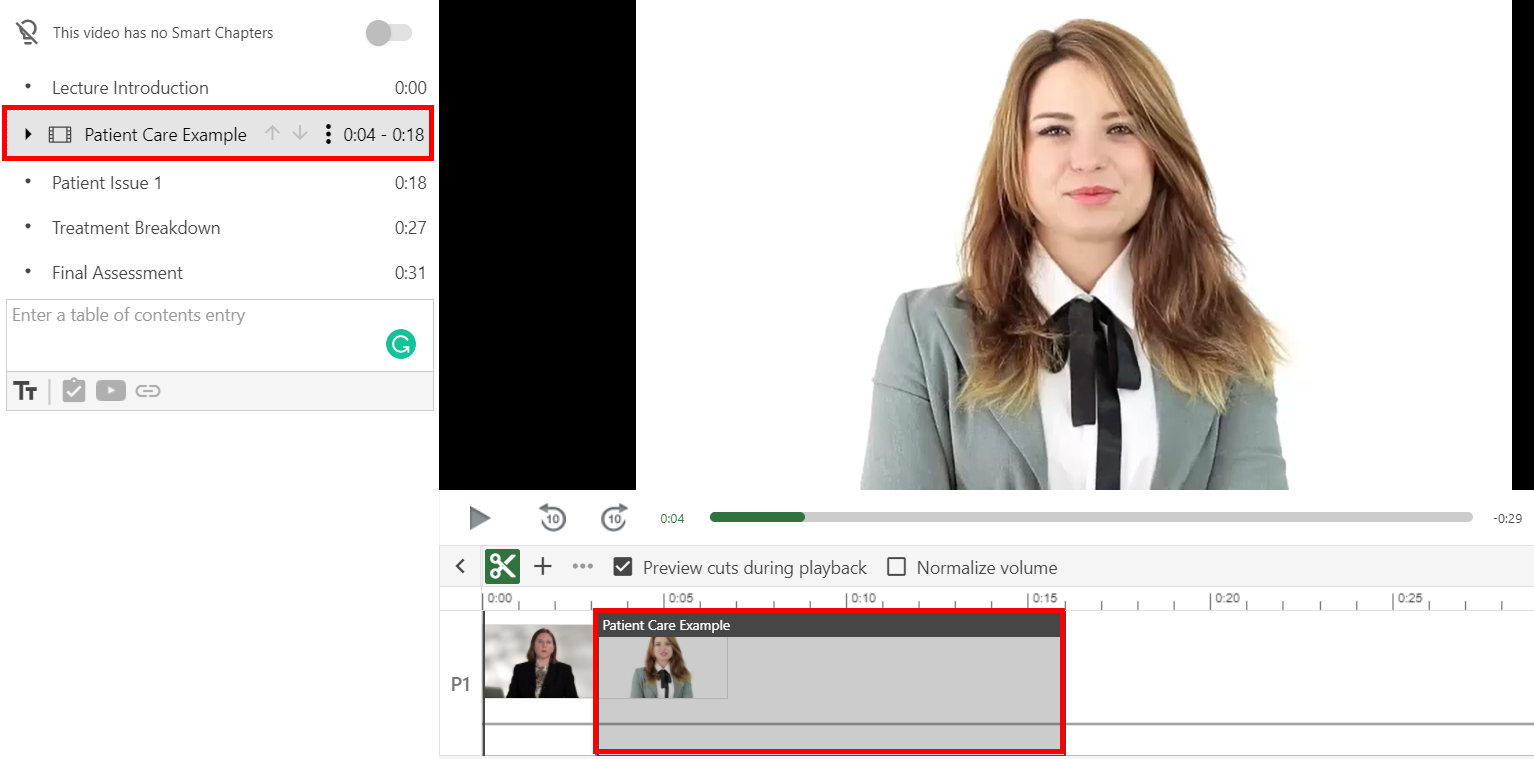 Figure 4 |
2.2. Editing the Clip Location: There are two ways to edit where the clip is located. Note: If you want to make edits to a clip, which is part of a spliced session, go to the original clip and make edits there. After you publish the original video, the edits will be reflected by default in the spliced session. | |
2.2.a. Drag and Drop: You can select the clip title in the timeline and drag it to where you want it to appear in your video (Fig. 5a). Link to the gif | Figure 5a |
2.2.b. Edit clip: Select the three vertical dots to the right of the clip on the Contents tab (Fig. 5b). In the Edit clip window, you can provide an exact Start time, or place the clip at the beginning of the timeline or at the end of the timeline. Select Save when you are done (Fig. 5c). | 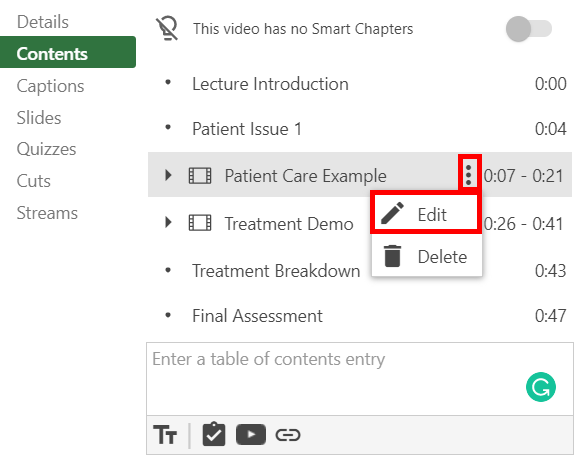 Figure 5b |
2.3. Reordering Clips: If your clips are aligned back-to-back in the timeline, you can hover over them on the Contents tab. There, you will see arrow icons. By selecting the arrows, you can change the order of the clips (Fig. 6). Link to the gif | Figure 6 |
2.4. Trimming the Clip: You can trim the beginning and end of a clip in the editor timeline. Hover over the beginning or end of the clip, click and drag the cursor to trim the clip or adjust a previous cut (Fig. 7). The trimmed area will appear greyed out, even when the clip hasn't been hovered over by the cursor. Note: It is not possible to trim the middle of a clip. Link to the gif | Figure 7 |
| For more information on how to use Panopto with Canvas, please visit our Canvas documentation. | |